Tuesday, February 10, 2015


Makeup with Glasses

                I’ve heard many girls that wear glasses that say that they don’t wear makeup because no one can see the makeup because of their glasses. I wear contacts most of the time, but on occasion, I wear my glasses. As a glasses/contact wearer I can tell you that when I wear my glasses, lipstick and eyeliner are my best friends.

                Here are a couple of tips for wearing makeup with glasses:

1.       Keep the color that you place on your lid a light color; yes you can wear darker shades, but using a lighter shade contrasts with the darkness or dark shadows cast by glasses.

2.       Apply a darker shade to the crease; this plays with the dark and light and creates dimension.

3.       Apply eye liner to the top lash line only. Applying to the bottom can cause dark shadows such as dark circles under the eyes to appear even darker, making you look tired.

4.       DON’T forget the rest of your face! Just because glasses frame your face and are a strong feature on your face does not mean that you cannot play up your other features. Feel free to add some lipstick, some bronzer, blush, and even highlight.

5.       Have fun with your makeup looks!

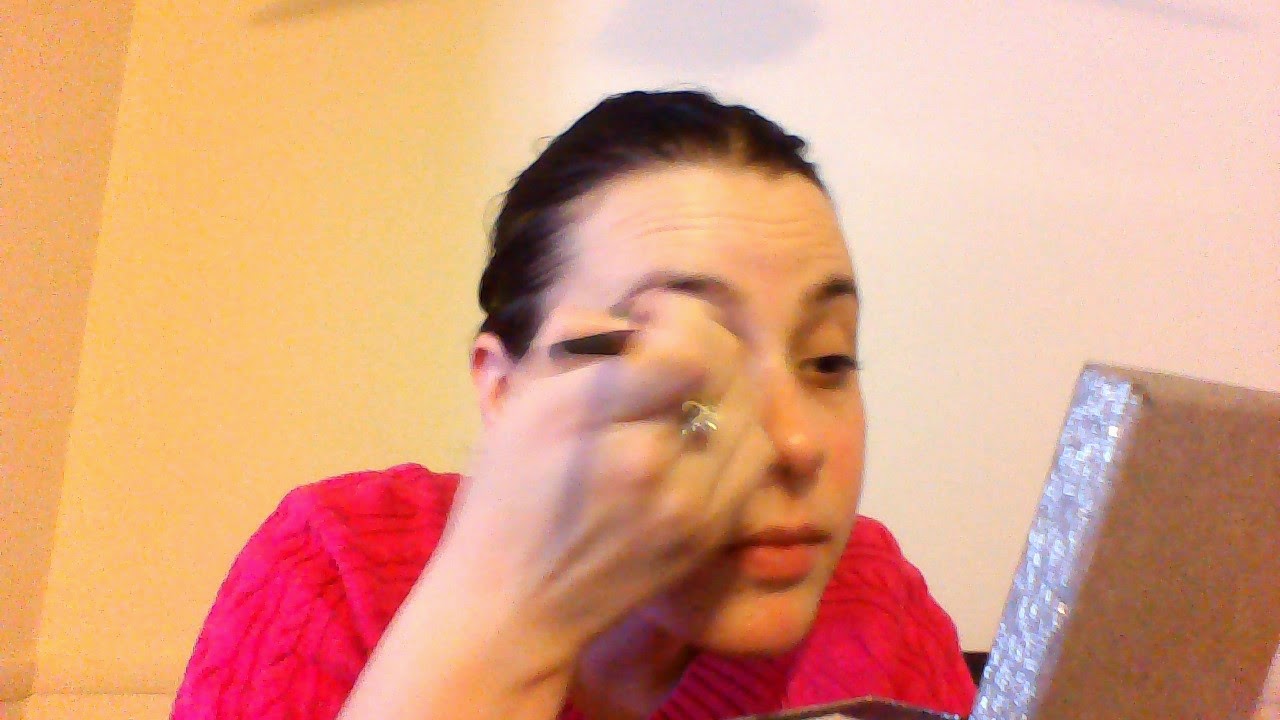
Hope some of those tips help! Here is a look I created. Hope you enjoy it!
 
 
Steps:
         Prep your eye lids for the shadow. I used my Too Faced Shadow Insurance.
 
           Apply a cream colored base to the entire lid using a flat shader brush. I used a matte cream color from my Sephora Enchanting Eye palette.


   I then applied a medium warm shimmery brown shade to most of the crease using a crease brush.


I then applied a darker cooler brown to the outer crease using a fluffier crease brush to deepen up the look.


   I then picked up a creamy peachy shimmery shade and applied that all over the lid using a flat shader brush.

  
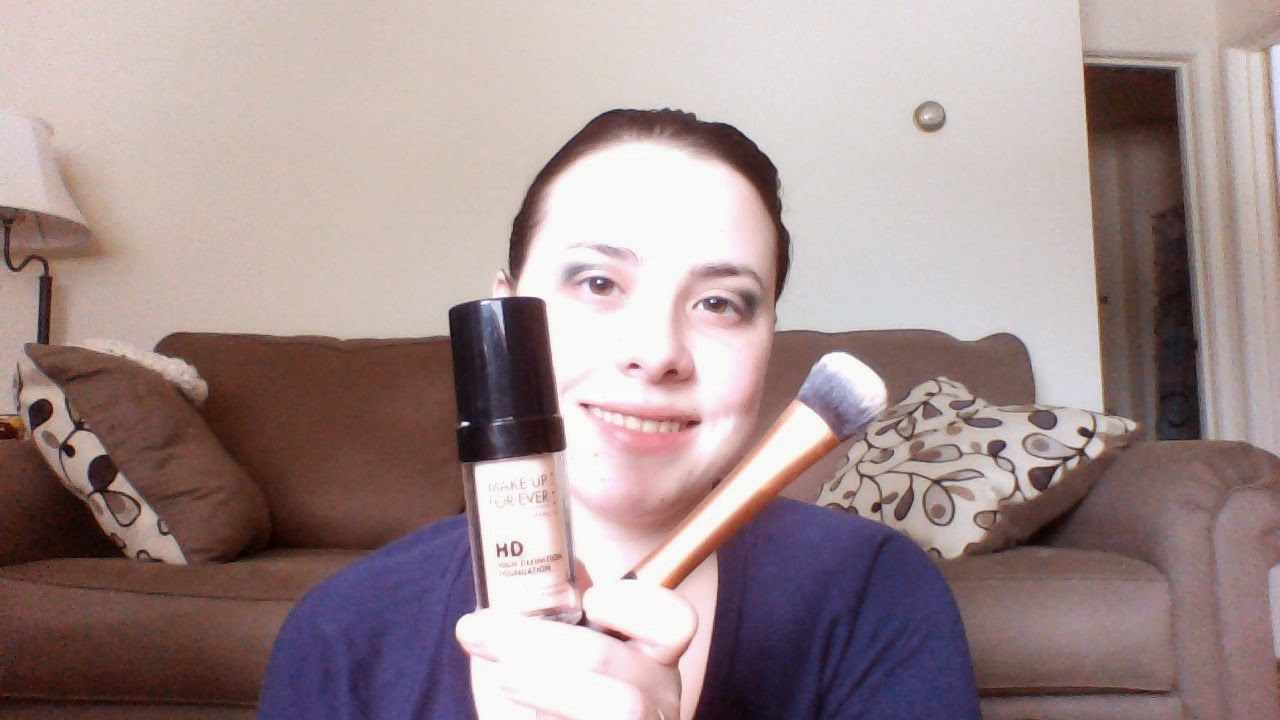
   I then applied my foundation using a Real Techniques expert face brush.


   I used Benefit Speed Brow to brush my eye brows.


   I then applied eye liner to the top lash line. I used my Kat Von D Tattoo liner in trooper. I started off at the inner part and did small strokes as close to the lash line as possible. I recommend an eye liner like this, with a felt tip pen if you are not used to using liquid liner, or if you wear glasses and can't see very well when applying your makeup. This felt tip eye liner helps you get as close to the lash lines as possible and allows you to make the line as thin or thick as you want. You want to start off thin and thicken it out as you see fit.


   This step is optional. I used my Neutrogena Healthy skin brightening eye perfector to cover up my under eye circles. I blended it out using my ring finger.


   Curl your lashes and then apply mascara. I only applied mascara to the top lashes and only applied one coat. However, if you want a more dramatic effect, feel free to apply more coats. I skipped mascara on the bottom lashes so that I wouldn't make my dark circles even more noticeable.


   I then  applied a white shimmery shade to my brow bone as a highlight.


   I then popped my glasses back on and used a little bit of my Too Faced Milk Chocolate Soleil as a contour and on my forehead to warm up my face a bit.


   I then used my blush in Papa Don't Peach from my Too Faced Everything Nice palette.


   I then used Inner Light from Too Faced Everything Nice palette and applied it as a highlight.


   I then applied MAC's Media to my lips.


   Finally, I took my glasses back off and sprayed some Make Up Forever Mist & Fix to set my makeup.

Monday, February 9, 2015


Weekly Basket
Hello everyone! I wanted to share my weekly basket for this week, Feb. 9-15th. If you can tell, most of the products I have been using have been the same every three weeks or so. These are products that I’m either working on putting a dent in them, hitting pan, or completely using up. I’ll have a look using these products later in the week. Thanks!


è For eyes, I will be using my Sephora Enchanting palette.

 
è For Lips, MAC Media

 
è For blush, I will be alternating between the two blushes in my Too Faced Everything Nice palette (Sweet Pink and Papa don’t Peach)

 
è For bronzer, I will be using Too Faced Milk Chocolate Soleil. I am not really a fan of this bronzer. I got it in a deluxe sample kit that contains 4 of the popular bronzers from Too Faced. I thought I would really enjoy this bronzer as it is lighter in color so I figured it would look good with my fair skin tone but instead it comes off very orange on my skin; it kind of reminds me of the E.L.F. bronzer in the blush/bronzer duo.


Thanks for reading! Hope you have a great week!


~Naty

Wednesday, February 4, 2015


Emerald green look with Too Faced Everything Nice palette

Hello everyone! I decided to post this look using my Everything Nice palette from Too Faced. I know this palette is limited edition but you might be able to find dupes in your makeup. Hope you enjoy it!

 
Steps:
   Firstly, as always, prep your eye lids for the eye shadow. I am using the Too Faced Shadow Insurance.
 
 
   Next apply a white base (using a flat shader brush) all over the lid and up to the brow bone. This step is not necessary but it helps the glittery/shimmery shades go on more smoothly. I am using Turtle Doves.


   Next, I applied a crease color to serve as a transition shade. I used Fawned of you with an Elf crease brush.
 

   Next I used my Real Techniques blending brush and applied Too Glam to the outer corner of my eye and blended a little (about half way) into my crease.


   Then I went back with my Elf crease brush with the color Knockout and placed it in the outer V (outer corner of my crease) to deepen up the look.


   Using a flat shader brush, I applied the color After Hours all over the lid.


      Then I applied my foundation, Make Up Forever HD (110) with my expert face brush.

 
      I then used my Benefit Speed Brow in Neutral to groom my brows.


   I used my Neutrogena Healthy Skin under eye brightener and blended it out with my finger.


   I then went in with a blending brush and the color Paper Roses and applied it as a brow bone highlight.


   I used the eye liner brush that comes in the palette (a regular eye liner brush or one that is angled works well too) with the color Too Glam and stamped that in my lower lash line. If you do not want a pop of color on the lower lash line, you can skip this step.


   I used my Kat Von D Tattoo liner in Trooper and lined the upper lash line. If you want a softer look, you can always take some dark eye shadow (ex. Chocolate Moon from the palette) or a matte black from any palette to line the upper lash line.


   I then used my Kat Von D Immortal Lash mascara and applied one coat to my lashes.


   I used the bigger brush that comes in the palette to apply the bronzer (Chocolate Soleil).


   Then I used a big fluffy blush brush (from Real Techniques) and applied the blush (Papa Don't Peach).
 
    This step is optional but I used MACs Viva Glam IV, a frosty mauvy-pink shade on my lips.


   I finished off the look with my MUFE setting spray (Mist & Fix).


   Thanks for reading!

      ~Naty


Tuesday, February 3, 2015


January Empties


The month of January has come and gone. Seems to me like it went by really quickly! So, we have the first round of empties (products I’ve used up)! Since I stocked up on beauty products at the end of last year, I do not have a whole lot of empties this month, but I do have some. So here it goes!

I got through one sample perfume and one full sized perfume! To me, that is pretty exciting as I had in my goals wanting to downsize perfumes to 2! Granted, I knew this was going to be an easy goal, but what better way to get motivated right? Anyway, the sample size perfume that I finished is Chloe, the Eau de Parfum, and I must say, I absolutely loved this scent! If it weren’t so expensive ($105 for 1.7 oz yikes!) I would definitely be investing in it.


The other perfume I finished off is one that I have been working on for what it seems like years! I cannot remember when I got this perfume, but I liked it so much that I tried not to use it a whole lot for fear of using it up. I’m not even sure if that perfume is even available anymore, so that’s something I will have to look into. This perfume is called Wink by Lilly Pulitzer. It retails for about $50. Having it so long in my collection, it is a pretty good feeling to know that money was used up and did not go to waste!


The next product I used up is a sample of Wella’s Luxeoil Reconstructive elixir. This product is supposed to soften hair without weighing it down as well as providing optimal nourishment and smoothing effect. To be totally honest, my hair did feel soft, and I did notice some extra shine when I wore it but it didn’t do anything to “reconstruct” or repair any damage in my hair what-so-ever. I felt that my hair looked a bit better when I had the oil on but this was only the case on days when I had applied the oil. For the price, $48, I do not believe that it is a must have and therefore, will not be purchasing it.


On to face products… This past month I saw that Neutrogena had a newer set of the makeup remover wipes. I absolutely love the previous wipes that I have used from Neutrogena. These got me as they were called “Deep Clean” as well as the claim that they “leave no greasy residue”. I have tried the wipes that come in the light blue package and I have to dab my face with a towel as they leave my face greasier than I like. Now, I have been struggling with my skin as I have sensitive skin that gets really dry in the winter. I had worked really hard at getting my skin to a healthier level. After using these wipes one time, my skin burned. Not a pleasant feeling! I had to immediately put some moisturizer on to counteract this. After a few days of using these wipes, all that work that I had put in to hydrating my face went away. These wipes made my skin even dryer, I had dry patches not just on my t-zone where I regularly get dryness, but everywhere. I even felt my eye lids were dry! After this ordeal, I read the ingredients and it turns out that these have alcohol in them, hence the drying effect. The wipes do a good job at removing the makeup, but unfortunately I would say that if your skin is sensitive, or dry, I would suggest you stay clear of these wipes and opt for the Night Calming (purple packaging) or the Hydrating (teal packaging) ones instead. I would recommend these maybe for people that have oily skin.


Finally, the last product that I used up this week was a Creamy Coconut facemask. I got this specific mask as it said that it provided a “hydrating vitality boost for tired skin”. I figured this would be a good investment during that time when I was using the deep clean wipes, to try and get my skin back to the healthy level before those wipes. I can say that I really did enjoy using this mask, and I do see myself purchasing these again. The smell was really nice, a little coconut-y and your typical Montagne Jennesse facemask smell. I also believe that they did help with my dry patches as my face looked a bit more hydrated after I used this. I was able to get two uses out of 1 package.


Those are all the empties for the month of January. Hope you enjoyed reading!


~Naty


Weekly Basket


Hello everyone! For this week, I will be using the following products:


For eye shadow, I will be relying on my Too Faced Everything Nice palette.


For eyeliner, I will be using my Kat Von D tattoo liner in Trooper.


For mascara, I will be using my Kat Von D Immortal Lash.


For my face products, I will be using the ones that come in the Too Faced Everything Nice palette, that is the Chocolate Soleil bronzer, both of the blushes (Sweet Pink and Papa don’t Peach), as well as the highlight (Inner Light).


Finally, for the lipsticks, I will be working on my MAC Viva Glam IV.


Hopefully I can have a look using these products up later this week. Thanks again for reading!


~Naty