Hello everyone! Check out this holiday look I created using my ColourPop All I see is Magic palette! It is easily achievable with similar shades of a green eye shadow and a red lipstick!
Thanks for watching!
~Naty
Monday, December 24, 2018
Monday, November 26, 2018
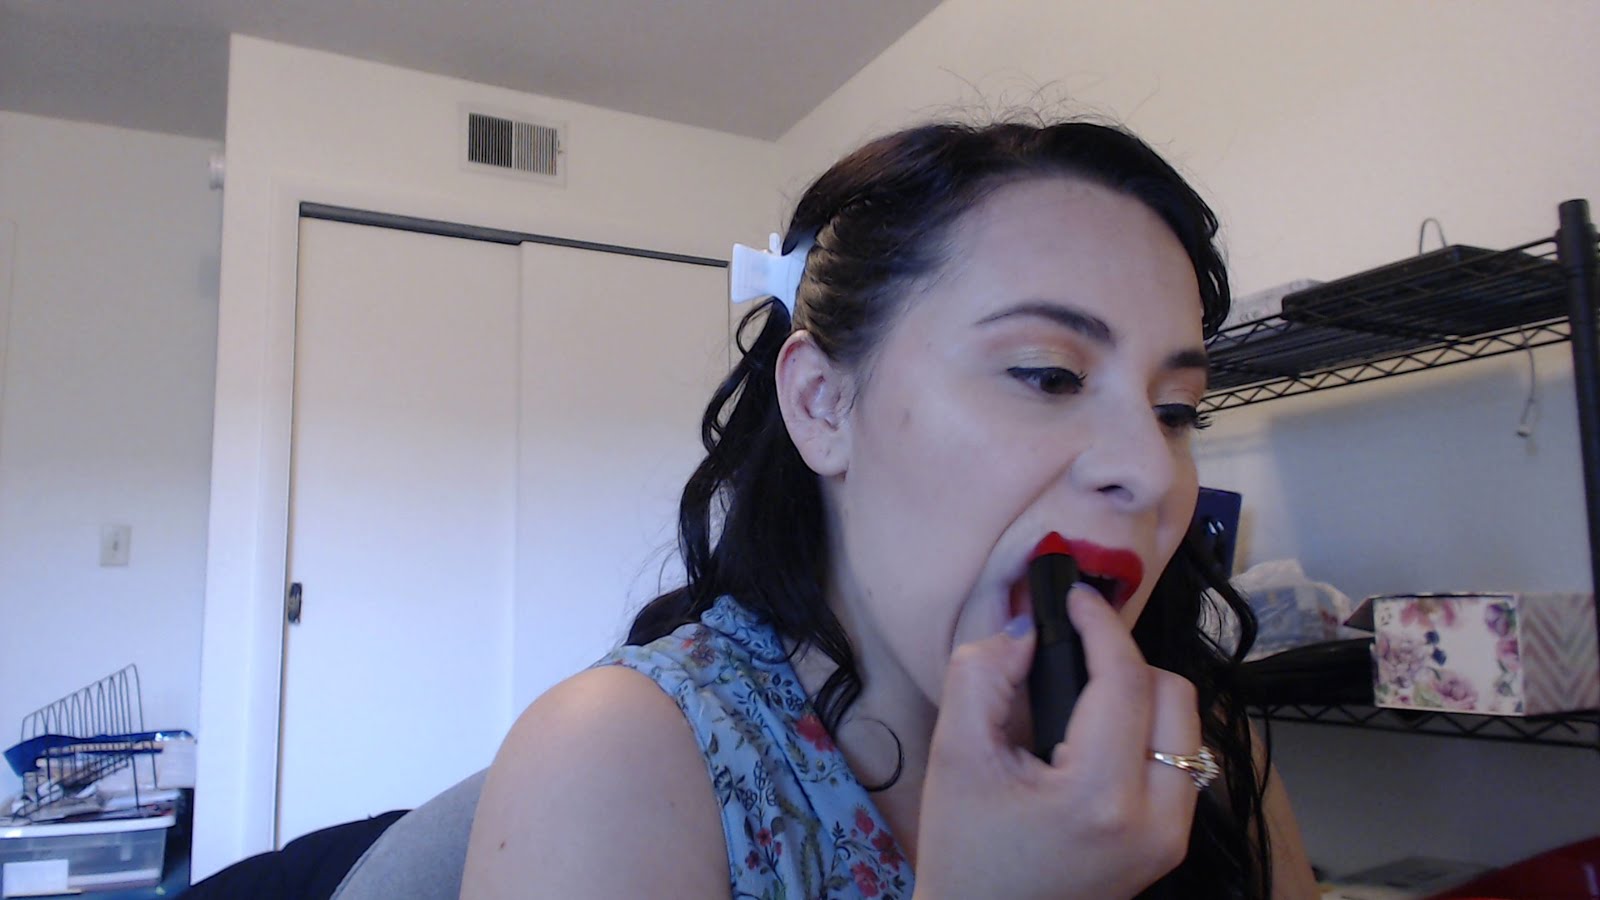
Mauve-y look using Lorac Mega Pro 3
Mauve-y Eyes and a Red Lip!
Hi everyone! I hope you had a wonderful Thanksgiving with your family! Check out the tutorial I made on my Youtube Channel with a red lip and berry eyes!
As usual, thanks so much for watching/reading!
-Naty
Tuesday, November 13, 2018
Whole Lotta Empties!
Empties!
Hi everyone! Check out my empties from the past few months! Can't believe it took me forever to post it! This video includes some of my all-time go-tos as well as brand new stuff that I tried.. check out the video and go subscribe if you haven't already!
Thanks!
~Naty
Sunday, October 28, 2018
Fall Makeup Tutorial
Hello everyone! Welcome back! I posted a video with a warm fall eye look up on my Youtube. I used my Anastasia Beverly Hills Subculture palette to achieve it! Go check it out!
-Naty
Thursday, October 18, 2018
Quick and Easy Halloween Tutorial!
Cat Inspired Halloween Tutorial!
Hi everyone! I did a video today of a cat inspired Halloween look. I found these cheap-o cat headbands at Target ($1 each!!). I hope you all enjoy the hot mess below! Thanks!! ~Naty
Hi everyone! I did a video today of a cat inspired Halloween look. I found these cheap-o cat headbands at Target ($1 each!!). I hope you all enjoy the hot mess below! Thanks!! ~Naty
Tuesday, September 25, 2018
My Favorite Fall Lipsticks (2018)
Favorite Fall Lipsticks!!
Hello everyone! It is that time of the year again, FALL!! I absolutely love fall, the leaves changing, the cooler weather, and best of all.... the DARK LIPSTICKS! Below is a video where I show you my top dark lipstick shades. Hope you enjoy it!
~Naty
Saturday, September 15, 2018
FabFitFun: Fall 2018 Unboxing
Hello everyone! I decided that this time, I would film my FabFitFun unboxing instead of simply taking pictures of the products, that way you can see my real-life reaction to everything I got. If you are interested in watching it, check it out on my channel.
Thanks for the support!
~Naty
Tuesday, September 4, 2018
My very First Younique Video!
My Younique Journey
Hi Guys! Thanks so much for coming back to my blog that I have somewhat neglected. I hope this is not going to be a thing but things have been pretty hectic! If you saw my last post, I told you that I had joined Younique! Well, now I have taken the next plunge and recorded my very first video introducing my Booster Bundle!
Check out the Youtube video here: https://youtu.be/K2jQ1WaFNzk
Thanks so much for all your support!!
~Naty
Sunday, August 12, 2018
Brand Spotlight: Younique
Brand Spotlight: Younique Look
Hi everyone! I am here with a quick look that I created using some of my Younique products. I hope you enjoy it!


I started off with my face primer from Smashbox. I don't get oily so I focus this on my nose, forehead, and a bit around my mouth, where I am most likely to rub off my makeup.


For concealer, I used a bit of the benefit airbrush concealer and topped it with the Tarte Rainforest of the Sea concealer in fair light.


For foundation, I mixed a bit of the Colourpop foundation in shade 30 and a bit of the Tarte Rainforest of the Sea in fair light neutral.


I then went with the Tarte contour/highlight palette and used the cream shading color and contoured my face. I applied this with a flat ended brush and blended it out with the wider side of a beautyblender.


I set everything with my Laura Mercier translucent setting powder.


I then went in with the powder contour of the Tarte palette and applied that to the hollows of my cheeks.


I used the Younique bronzer in the shade Malibu and applied that above the contour and blended it up towards my temple. I also blended this towards the apples of the cheeks to give my cheeks some color.


I used the cream to highlight illuminator in the shade Benevolent. I applied this by using my ring finger and dabbing it on the cheekbones.


For the eyes, I applied my NYX eye shadow base and set that with the shade White from the Lorac Pro palette.


I took my Younique quad and applied the shade Witty which is a nice warm burnt orange, and applied that to the crease.


I applied the shade Gentle which is a shimmery champagne color, and applied that to the inner third of the lid.


I used the shimmery green shade, Alive and applied it to the remainder of the lid.


I filled my brows using the shade Espresso from the Lorac Pro palette.


I set the brows with my essence brow gel.

I took the shade Discreet, a matte vanilla shade from the Younique quad and applied it as a brow bone highlight.


I used my Tarte Sex Kitten liner and created a wing.


For mascara, I used my Maybelline Total Temptation mascara and applied two coats to the top lashes.


For lips, I used my iSOCiETY COSMETICS lipstick in Just Out (an orange-y red shade).


I forgot to set my makeup so I went back and set everything with the Urban Decay Chill setting spray. I have noticed there is a difference in how this feels on the skin when it is cold vs when it is in room temp but I don't think there is a difference in how it works per say.
I hope you enjoyed this look! I absolutely love the Younique shadow formula. The eye shadows are richly pigmented and apply easily on the lid. The shade Gentle was highly highly pigmented!
Thanks for reading!!
~Naty
Tuesday, August 7, 2018
Naty's Younique Launch Party!
Come Party with Me!
Hello everyone!
WHO likes to party?! Grab your pjs, a snack, and your favorite beverage and come shop with me from the comfort of your own couch! I wanted to hop on here real quick to let you know that I have begun my Launch Party for Younique! I will be hosting this event on Facebook but you can also find it on the Younique site!
The link to the party is: https://www.youniqueproducts.com/NathalieWeissman/party/10327539/view
Also, for current updates on Younique products and sales, check out my Facebook page here:
https://www.facebook.com/natywyounique/
Thanks so much for taking the time to read my blogs and support me :).
~Naty
Saturday, August 4, 2018
Brand Spotlight: Younique
Brand Spotlight: Younique Look


Hello everyone! I decided to play around with some of my products from my Younique kit. I combined this with some other products from other brands. If you want to know what products I used, keep on reading!


As usual, I primed my lids using NYX eye shadow primer and set that with the shade White from the Lorac Pro palette.


I then went in with the Covergirl Peach palette in that mid-brown shade and applied it to the crease.


I took the seafoam looking shade (ignite) from the Kat Von D metal matte palette and applied this to the inner third of the lid.

For the second half of the lid, I used the shade Watt, which is a dark teal type shade.


I then took the shade Moss (a matte forest green) and applied it to the outer v and blended that out into the crease.

I primed my face with my Smashbox primer.


To conceal and correct my under eyes, I used the benefit Boi-ing concealer and the Tarte rainforest of the sea concealer.


I mixed the colourpop foundation in the shade 30 and the Tarte Rainforest of the Sea in Fair light Neutral and applied to my face.


I then used the Tarte contour and highlight palette and went in with the dark creamy shade and contoured my face.


I set everything with the Laura Mercier translucent setting powder.


I then took the contour shade from the Tarteist Pro palette and applied to my face (where I had initially applied that cream contour shade).


I the took the Younique bronzer in Malibu and applied that right above that contour shade, focusing it mostly on the outer part of the face and blended towards the hairline.


I applied a tad bit of the shade Mauve from the Lorac Pro palette as a blush (focusing mostly on the apples of the cheeks and blending towards the bronzer).
*Note: if you are using bronzer, contour, and blush, it is important to remember LESS IS MORE! Since you are already applying three different products on that area, you don't want it to look super cakey and overdone.


I used the shade Nude from Lorac Pro on the cheek bones as a highlight.


I used the Younique Moodstruck pencil to line my waterline. This pencil is pretty creamy and applies super easily!


For lips, I used the Younique Splash liquid lipstick in the shade Stellar. This is supposed to be a nude shade but since my lips have no real color to them, it looks a bit darker on me. This lipstick feels really mousse-y and applies evenly and smoothly.


I then set everything with my Urban Decay cooling setting spray.


For mascara, I used the maybelline total temptation and applied two coats to the upper lashes.


I forgot to do my brows! So I went back in and filled them in with the shade espresso from the Lorac Pro and set that with the essence make me brow gel.


To finish off, I used the shade White from the Lorac Pro as a brow bone highlight.
I really enjoy the Younique products, they are really good quality. The liquid lipstick is not drying at all! It certainly dries down to the matte formula but it does not feel uncomfortable on the lips.
If you would like to shop for any Younique products, visit my website: https://www.youniqueproducts.com/nathalieweissman#.W2X6ltJKjIU
Thanks so much for reading!
~Naty
Subscribe to:
Comments (Atom)